grep vmx /proc/cpuinfo

2. Add Kubernetes to your repository
create this file: /etc/yum.repos.d/kubernetes.repo
to contain the snippet below:
[kubernetes]
name=Kubernetes
baseurl=https://packages.cloud.google.com/yum/repos/kubernetes-el7-x86_64
enabled=1
gpgcheck=1
repo_gpgcheck=1
gpgkey=https://packages.cloud.google.com/yum/doc/yum-key.gpg https://packages.cloud.google.com/yum/doc/rpm-package-key.gpg
3. It is adviced to install kubectl first so that minikube will detect it and automatically attach itself with its configuration.
sudo dnf install -y kubectl
4. Install VirtualBox or KVM (KVM in this example)
sudo dnf clean all
sudo dnf -y upgrade
sudo dnf install @virtualization -y
Then start the libvirtd service and add your user to the libvirt group
sudo systemctl enable --now libvirtd
sudo usermod -aG libvirt $USER
5. Installing minikube
Download minikube:
curl -Lo minikube https://storage.googleapis.com/minikube/releases/latest/minikube-linux-amd64
Set it as an executable and move it to bin right away
chmod +x minikube
mv minikube /usr/local/bin
6. Reboot the machine
7. After reboot, but before running minikube, you may have to add the user that you'll be using with to run minikube to the libvirt group
usermod -aG libvirt $USER
Run minikube
minikube start --memory 4096 --vm-driver=kvm2
followed by: 'kubectl cluster-info' and 'kubectl get nodes'

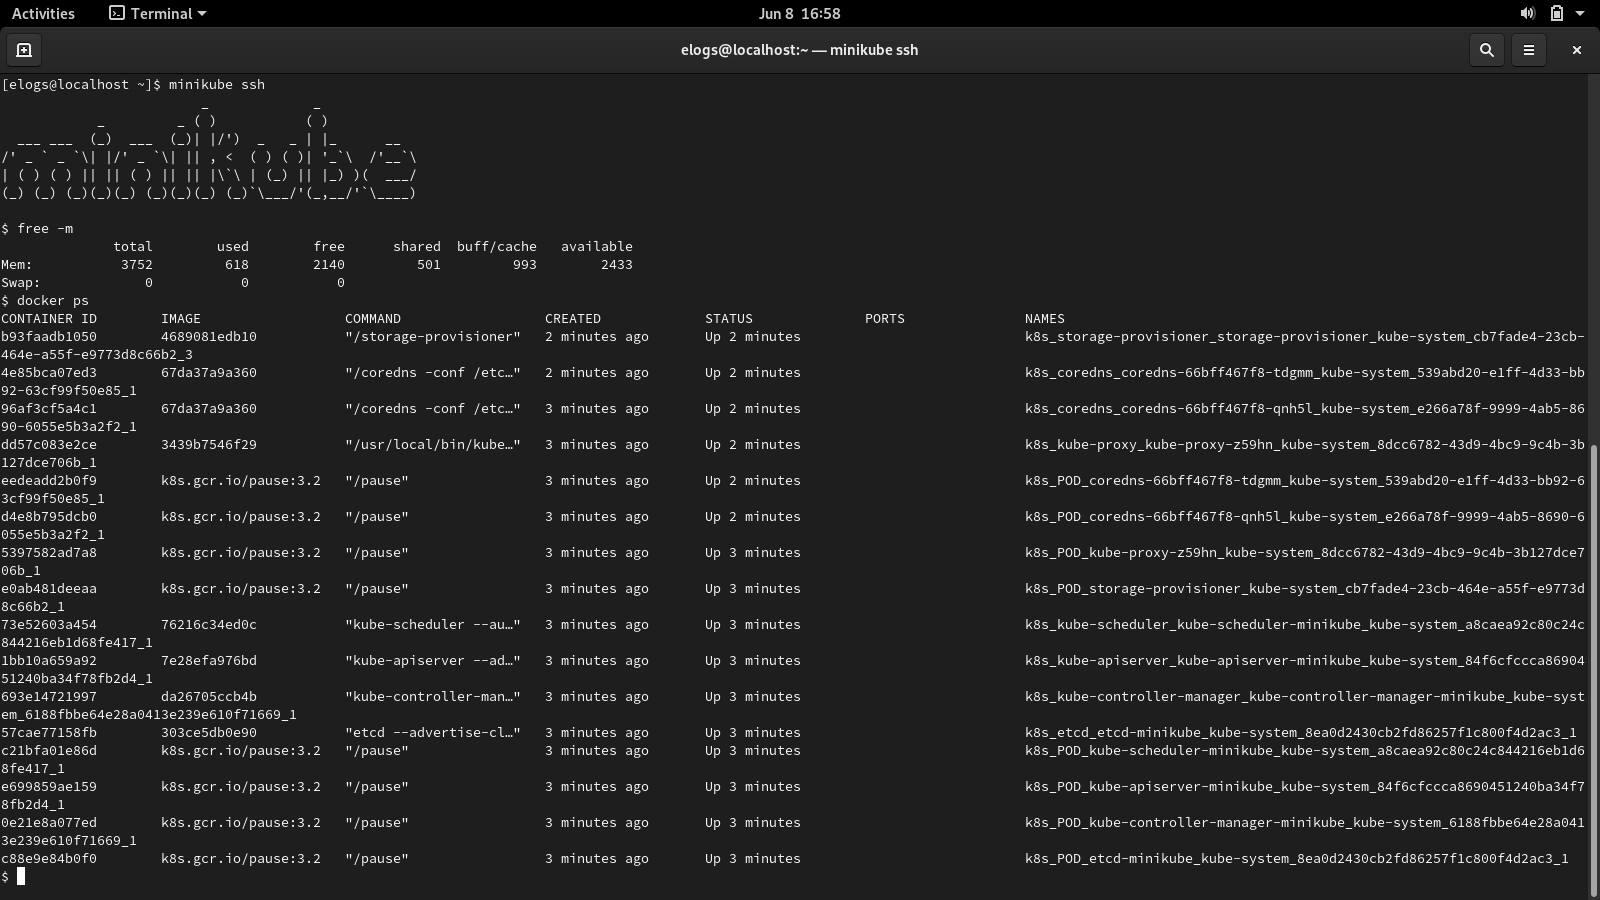
minikube ssh


0 comments:
Post a Comment